| Home Prev | Next |
The self-service feature in EasyAccess allows individual users access to the EasyAccess server so they can manage aspects of their own authentication. This section describes how the self service feature can be enabled by the EasyAccess administrator.
To set up a self service, go to Scenarios > Applications in the configuration manager WebUI and select the plus button on the Self Service option. This will open a guide which will take the administrator through the steps to configure self service.
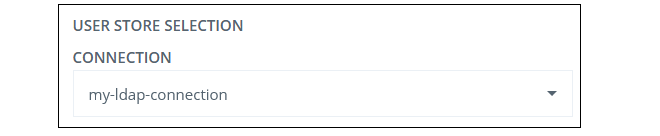
The first guide step will ask for a user store. In the example below, the LDAP server created in Chapter 4, LDAP Server Setup will be selected.
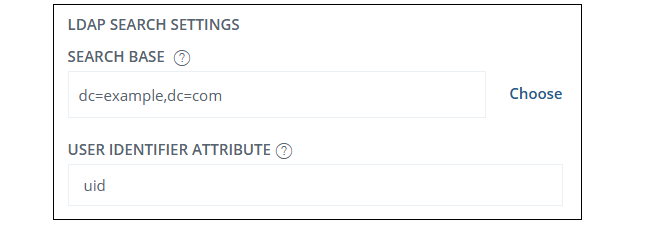
The guide will then ask where the search in the LDAP server should begin. The value User Identifier Attribute specifies the attribute which contains the username in the user search. Note that in the case of Active Directory, this attribute would be sAMAccountName.
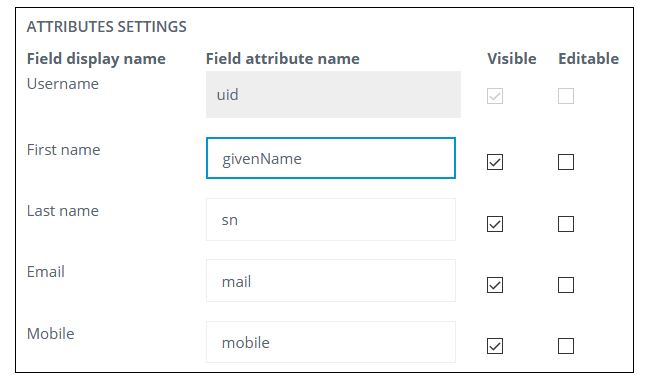
The next guide step will allow the attribute names to be specified for other user data and will also allow the administrator to determine which will be visible/editable for the self service user. Note that only a single value can be specified for any field.
This value of the User Identifier Attribute field specified in the previous step is always visible to the self service user but never editable.
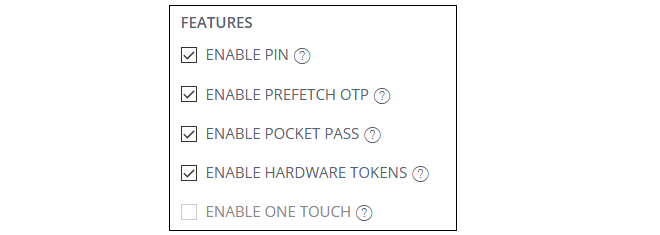
Now, enable any application features that are required. The optional features are:
PIN: - Enable PIN enrollment.
Prefetch OTP - Enable creation and download of one time passwords.
Pocket Pass - Enable enrollment for OATH based Pocket Pass app.
Hardware tokens - Enable hardware token enrollment. This requires the hardware token module to be enabled.
One Touch - Enable enrollment for PKI based One Touch app.
Note that enabling the self service One Touch feature is only possible if the One Touch feature has already been configured in EasyAccess. Doing this is described in Section 5.3, RADIUS with OneTouch Scenario Setup.
The next sequence of steps depends on which features in the previous step have been selected. Each feature will require an additional configuration step in the guide (these steps are not shown here).
If the One Touch feature has been selected or if the Online key provisioning option has been enabled in the Pocket Pass feature, the URL of an external server must be specified. This server will be used to construct the URL that points back to the application used by Pocket Pass and One Touch clients.
The final step in the guide is to click the Create option to save the self service setup.
Once the self service feature is configured and available, each end user will then need to download the relevant app to their device and then log into the self service feature to configure the service they want to use.