| Home Prev | Next |
This section describes how a OneTouch authentication scenario is configured. The Clavister OneTouch product is a downloadable app that allows authentication of a connection to a NetWall firewall as an additional factor to username and password credentials. Authentication with username and OneTouch only, without a password, is possible and is discussed separately in Section 6.7, Passwordless Federation Authentication.
A link is established once between the OneTouch app and the EasyAccess server. When the user then needs to be authenticated later, EasyAccess pushes a message to the app asking for confirmation of the login. The user sends a confirming message back to EasyAccess with a single button press. EasyAccess then completes authentication of the connection.
The setting up of the OneTouch scenario involves the following steps:
A. Create the global OneTouch configuration object in Easy Access.
B. Create a RADIUS OneTouch scenario.
C. Enroll users for OneTouch. This is done by the administrator using the WebUI or by the users themselves through self service.
The steps in the above list will now be described in detail.
A. Create the global OneTouch configuration object
A OneTouch object needs to be created. There can only be a single global OneTouch object created for each EasyAccess installation and this will be automatically associated with any OneTouch scenario that is created. Go to Scenarios > System and select the add button next to One Touch.An EasyAccess guide now opens that will collect the required data for OneTouch in a series of steps. The first guide step allows the issuer name to be specified. This name will be displayed by the OneTouch client.
The next guide step allows the external URL to be specified. This will be used as a prefix for building callback URLs for use by the One Touch client for both activation and fetching assignments. The URL may be the actual endpoint of the EasyAccess server but can also be a logical endpoint redirected to the actual server by a firewall or reverse proxy. Using such redirection is recommended.
The URL prefix should be chosen with care since this value cannot be changed for activated clients. HTTPS should be used as the URL protocol.
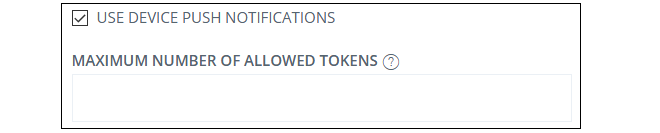
The next guide step asks if push notifications should be enabled. This would normally by activated. If it is not activated then OneTouch will work but the client device will not receive notifications that the OneTouch app has received an assignment. If the feature is not activated here it cannot be switched on later by the administrator or in the self service function.
In the final guide step, select Create to save the scenario.
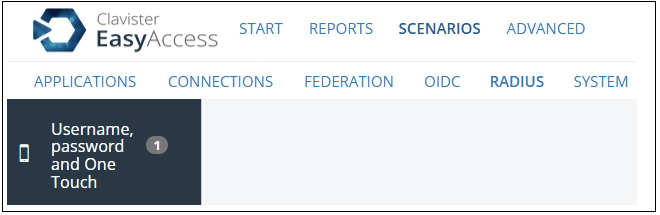
B. Create a RADIUS OnTouch scenario
To create the scenario go to Scenarios > RADIUS and then press the plus button on the scenario called Username, password and OneTouch.A guide will now open to gather the required data for this scenario. In the first guide step, specify a suitable name for this scenario along with an optional description.
In the next guide step, select a user store. In this example, the LDAP store created in Chapter 4, LDAP Server Setup will be selected. It is also possible to select the Create new option to create a user store connection on the fly.
Now, specify a filter to find the user. In this case, it is enough to use the username. The Search base defines the root on the LDAP server where the users are found.
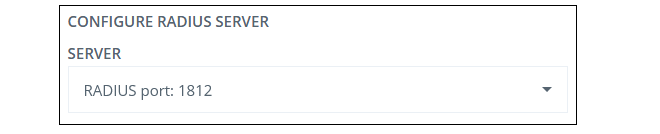
The RADIUS connection to use is now specified next. This determines the RADIUS requests that EasyAccess will listen for. In this example, the connection defined in Section 5.1, Basic RADIUS Scenario Setup is selected. Alternatively, a new RADIUS connection could be specified on the fly by selecting Create new.
The next guide step allows the acceptable IP addresses of connecting RADIUS clients to be specified. In addition the shared secret password that the client needs can be specified along with an optional Attribute Selector. The attribute selector is used if different authentication methods can be chosen. For example, a valid value might be 44=SMS.
In the next guide step, select Create to save the scenario.
The EasyAccess server is now ready to accept authenticating RADIUS connections. It will be automatically associated with the OneTouch configuration that was created in step A.
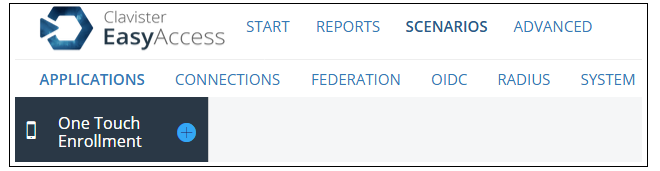
C. Enroll users for OneTouch
Enrolling users for OneTouch can be done in one of the following ways:To enroll users in the EasyAccess WebUI, go to Scenarios > Applications > One Touch Enrollment and press the plus button.
An EasyAccess guide will open to collect the data required. The first step asks for a user store that contains users.
Specify the search settings for the user store. The search base is the search starting point in the directory tree. It can be entered manually or selected by using the Choose option. Searching is done using the scope "SUB". This value is mandatory, with LDAP DN as the required syntax.
The attribute used to identify users (such as uid, email or samaccountname) must also be specified.
Specify if push notifications are to be enabled. These are used for notifying users of pending assignments and are normally enabled.
In the final guide step, select Create to save the enrollments.
After saving the OneTouch configuration, the object parameters are presented and can be edited. Some parameters can be changed that could not be set in the guide. For example, the OneTouch connection URI value can be changed.
Regardless how enrollment is done, users themselves must still create a link between their tOneTouch app installation and EasyAccess. If the OneTouch URI is left as the default value of activateonetouch then this is done by the user opening the following URL in a web browser.
https://<EasyAccess-server-DNS-name>:8443/activateonetouch
Note that the URI must begin with the "/" character and it must be unique within the EasyAccess instance.
Under the Tokens tab, the maximum number of allowed tokens for a user can be specified. Leaving this field blank means the number is unlimited.
When all changes are complete, press the Save link and the EasyAccess server will restart with the changes applied.
After installing the OneTouch app and either being enrolled by the administrator or enrolling through self service, the user can now initiate connection to the OneTouch URI and link the app to EasyAccess.