| Home Prev | Next |
This section describes how a typical multi-factor authentication scenario is configured. In this case, the scenario of RADIUS with username/password and token will be configured where a generated one time password (OTP) will be used as the additional authentication factor.
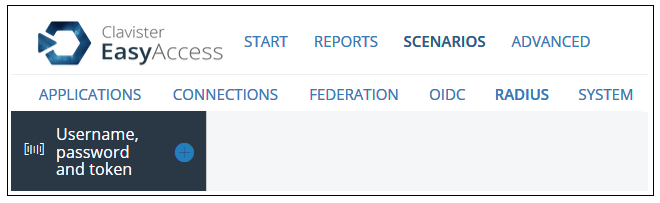
The first step is to go to Scenarios > RADIUS and then press the plus button on the scenario called Username, password and token.
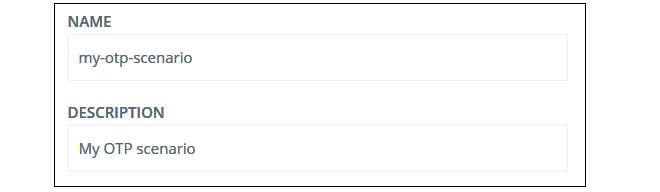
A guide will now open to gather the required data for this scenario. In the first guide step, specify a suitable name for this scenario along with an optional description.
In the next guide step, select a user store. In this example, the LDAP store created in Chapter 4, LDAP Server Setup will be selected. It is also possible to select the Create new option to create a user store connection on the fly.
Now, specify a filter to find the user. In this case, it is enough to use the username. The Search base defines the root on the LDAP server where the users are found.
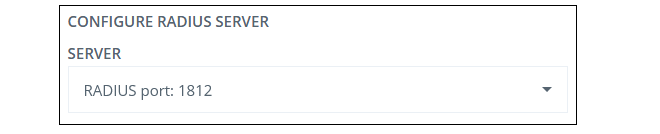
The RADIUS connection to use is now specified next. This determines the RADIUS requests that EasyAccess will listen for. In this example, the connection specified in Section 5.1, Basic RADIUS Scenario Setup is selected. Alternatively, a new RADIUS connection could be specified on the fly by selecting Create new.
The next guide step allows the acceptable IP addresses of connecting RADIUS clients to be specified. In addition the shared secret password that the client needs can be specified along with an optional Attribute Selector. The attribute selector is used if different authentication methods can be chosen. For example, a valid value might be 44=SMS.
Optionally specify that a PIN must appear either before or after the OTP, along with the user store attribute that will contain the code.
In the final guide step, select Create to save the scenario.
The EasyAccess server is now ready to accept authenticating RADIUS connections.