Chapter 4: Configuring Virtual Machines

Once the cOS Core virtual machine disk image is imported (this is described in the previous chapter), the KVM virtual machine environment will have a set of default parameters. For example, the virtual interfaces available to cOS Core. This section describes how these parameters should be configured.

[Important] Important: Read the previous chapter first

This chapter deals with changing the default virtual machine configuration after it has been imported. Importing is described in Chapter 3, Creating Virtual Machines and that should be read first.

Displaying the Current Configuration

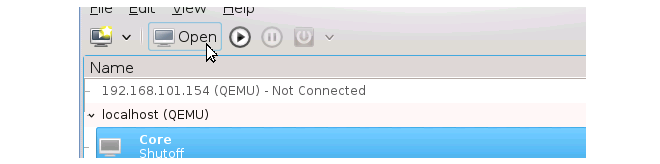
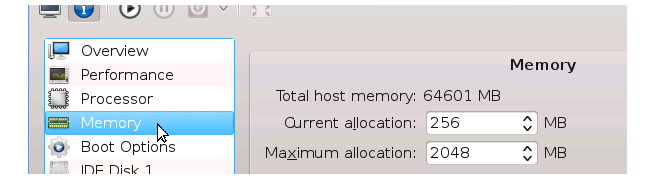
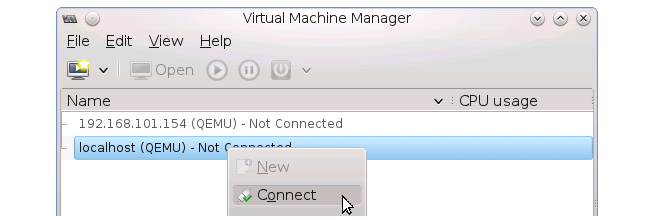
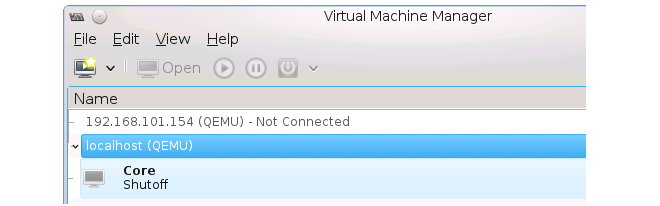
The current KVM configuration of a virtual machine can be displayed with the following steps:

  1. Use a client console to access Linux and start the virt-manager software.
  1. Start the virt-manager software. The virt-manager virtual machine manager software will be used throughout this guide but alternative virtual management software may be used.

  1. Connect to KVM by right-clicking on localhost (QEMU) and selecting the Connect menu option (or double-click on the localhost line).

  1. A list of currently defined virtual machines will be shown.

Changing the Configuration

  1. To display and edit the currently selected virtual machine's configuration, first press the Open button in the toolbar.

  1. The status dialog for this virtual machine will display. Press the information button in the toolbar.

  1. The configuration of the virtual machine will now be displayed.
  1. To change a configuration parameter, select it in the left hand navigation list and then alter the displayed values. For example, changing the default RAM memory allocation is shown below.

  1. Save any configuration changes by pressing the Apply button.