| Home Prev | Next |
This section describes the overall installation steps of cOS Core in a virtual environment. It includes details of customer registration and license installation. The steps are organized into the following stages:
A. Register as a User and Download cOS Core.
B. Create a Virtual Machine for cOS Core.
C. Configure cOS Core for Management Access.
D. Register a License and Bind it to cOS Core.
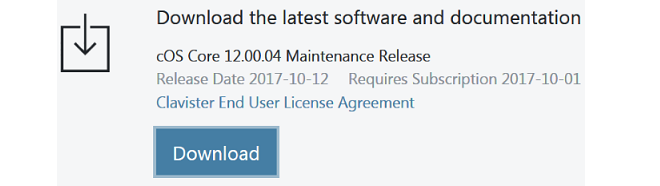
A. Register as a User and Download cOS Core
Go to the URL https://my.clavister.com in a web browser.


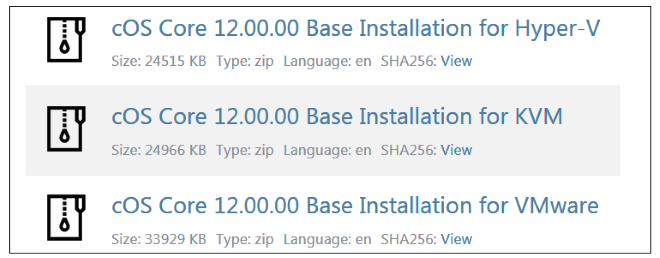
B. Create a Virtual Machine for cOS Core
Unzip the downloaded file and create a virtual machine for cOS Core using the instructions in Chapter 3, Creating Virtual Machines.C. Configure cOS Core for Management Access
cOS Core can now be configured using the CLI to allow management access via the If1 interface over a network and to optionally enable Internet access. This is more fully covered in Section 6.4, Manual CLI Setup but a shorter summary of the steps is the following:Device:/> set Interface Ethernet If1 DHCPEnabled=NoDevice:/> set Address IP4Address InterfaceAddresses/If1_ip
Address=192.168.1.1Device:/> set Address IP4Address InterfaceAddresses/If1_net
Address=192.168.1.0/24Device:/> cc RoutingTable mainDevice:/main> Device:/main> add Route Interface=If1 Network=all-nets
Gateway=203.0.113.1Device:/> set RemoteManagement RemoteMgmtHTTP HTTP_If1
Network=all-nets
Interface=anyAlternatively, turn off strong passwords with the following command:Device:/>cc LocalUserDatabase AdminUsersDevice:/AdminUsers>set User admin Password=Mynew*pass99
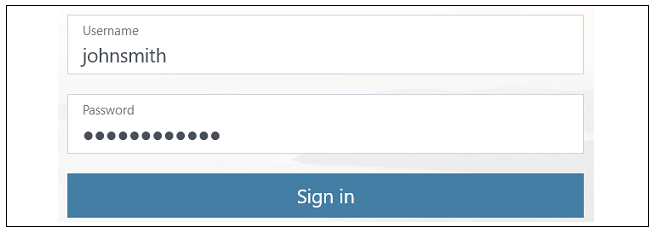
Device:/> set Settings MiscSettings EnforceStrongPasswords=NoDevice:/> activateDevice:/> commitFinally, open a web browser and navigate to the IP address of the If1 interface. The cOS Core login dialog should appear and the default administrator credentials of username admin with password admin can be used to log in. By default, only the HTTPS protocol can be used so the connection will be encrypted. With HTTPS, cOS Core will send a self-signed certificate and the browser will prompt for that certificate to be accepted.
It is possible to enable unencrypted HTTP for the management connection but this is not recommended.
When connecting through the Web Interface for the first time, the cOS Core Setup Wizard will automatically try to start as a browser popup window which may have to be explicitly allowed by the user. Using the wizard is described further in Section 6.2, Web Interface and Wizard Setup.

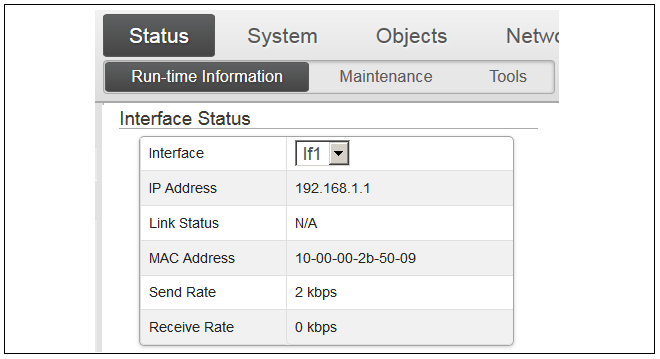
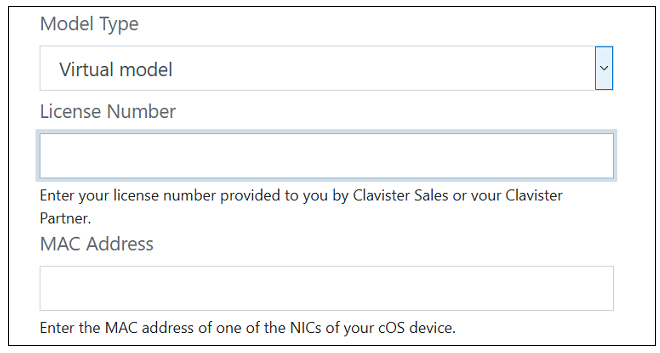
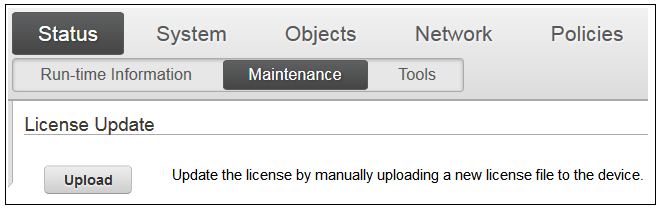
D. Register a License and Bind it to cOS Core
A license for cOS Core must be associated with a MAC address on the virtual machine. To get a MAC address, open the cOS Core Web Interface and go to Status > Run-time Information > Interfaces and make a note of the MAC address for the If1 interface.
Alternatively, the following CLI command can be used to obtain the MAC address:
Device:/> ifstat If1


The two hour evaluation time limit will now be removed and cOS Core will only be restricted by the capabilities defined by the license.