| Home Prev | Next |
This section describes connecting power. As soon as power is applied, the NetWall W50 will boot-up and cOS Core will start.
![[Important]](images/important.png) |
Important: Review the safety information |
|---|---|
|
Before connecting power, please review the electrical safety information found in Chapter 9, Safety Precautions. |
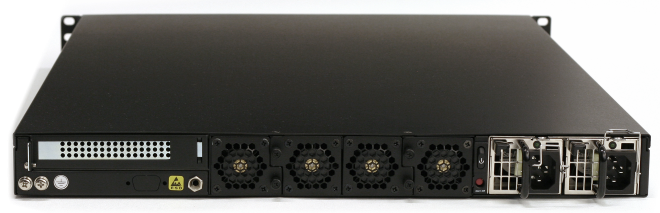
The image below shows the back of the NetWall W50 with both the two power supply units (PSUs) for redundancy in case of a single PSU failure.
As standard, the W50 is delivered with only a single PSU and the second PSU slot is occupied by a dummy slot filler. The filler is necessary so the PSU alarm is not activated. A second PSU must be ordered separately. The W50 can operate with just one PSU installed and a second can be added if required. When two PSUs are installed, the W50 runs using power from only one of the PSUs and the other delivers power only in the case of a failure by the primary unit. Installing and swapping PSUs is discussed further in Section 5.1, PSU Replacement.
Connecting AC Power
To connect power, follow these steps:Plug the other end of the power cord into a grounded power outlet.
If a second PSU is to be used for redundancy, the dummy PSU should be removed and the actual PSU should be inserted in its place. The procedure for inserting the power cable should then be repeated for this second PSU.
The W50 will boot up as soon as power is applied and cOS Core will start. The progress of the process can be seen on a CLI console connected to the local console port.
After a brief period of time, cOS Core will be fully initialized and the NetWall W50 is then ready for configuration using a direct console connection or via a network connection to the default management Ethernet interface.
Initial cOS Core configuration is described in Chapter 4, cOS Core Configuration.
Restarting the W50
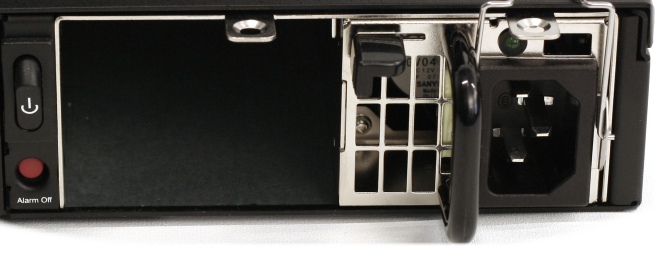
In order to restart the W50 hardware manually, the On/Off rocker switch should be held in and then released. This will restart the W50 and reinitialize cOS Core so that it boots up again. This process can also be initiated through cOS Core. For example, using the CLI shutdown command. |
Important: Protecting against power surges |
|---|---|
|
It is recommended to consider the purchase and use of a separate surge protection unit from a third party for the power connection to the NetWall W50 hardware. This is to ensure that the appliance is protected from damage by sudden external electrical power surges through the power cable. Surge protection is particularly important in locations where there is a heightened risk of lightning strikes and/or power grid spikes. Any surge protection unit should be installed exactly according to the manufacturer's instructions since correct installation of such units is vital for them to be effective. |