| Home Prev | Next |
The W50 is designed to be installed in most standard 19-inch equipment racks. The following general guidelines for rack installation should be followed:
The rack or cabinet used for mounting should be adequately secured to prevent it from becoming unstable and/or falling over.
Devices installed in the rack or cabinet should be mounted as low as possible, with the heaviest devices at the bottom and progressively lighter devices installed above.
Two Rack Mounting Kits Are Included
There are two rack mounting kits, included both must be installed for mounting the W50 into a rack. In the packaging for the W50 the following should be found:A front bracket kit.
A side-rail kit.
Installing these kits is described in the following two subsections. The ordering of attachment is not important but both should be installed before mounting the W50 in the rack.
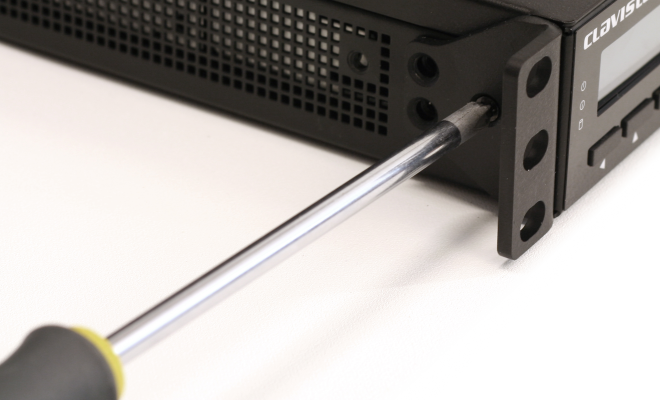
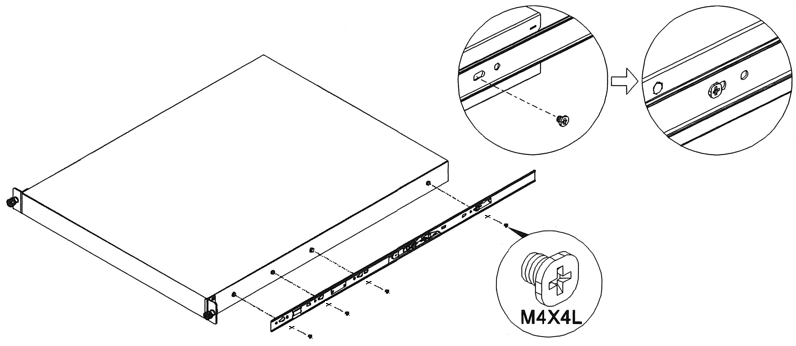
The front bracket kit consists of two brackets, each of which has three screws for attachment to the front-sides of the W50 as shown in the image below. There are pre-drilled holes already in the sides of the which are used for attaching the brackets.
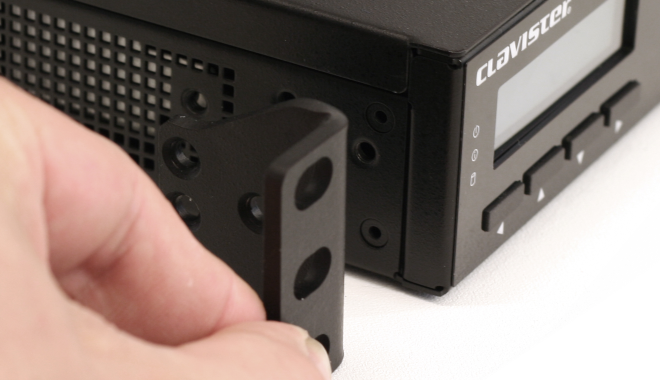
A bracket should be attached to each side of the W50 with a screwdriver using the screws supplied.
After attaching a bracket to either side of the unit, the next step is to install the side-rails parts on both the W50 and the rack. This is described next.
The side-rail kit consists of two ball-bearing slide-rails for either side of the W50. Each side-rail consists of two parts. One part attaches to a side of the W50 and the other part attaches to the rack. The W50 is then slid into the rack by re-engaging the two parts.
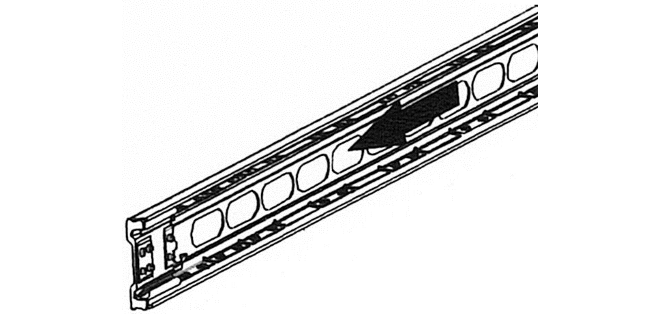
A. Installing the Rail
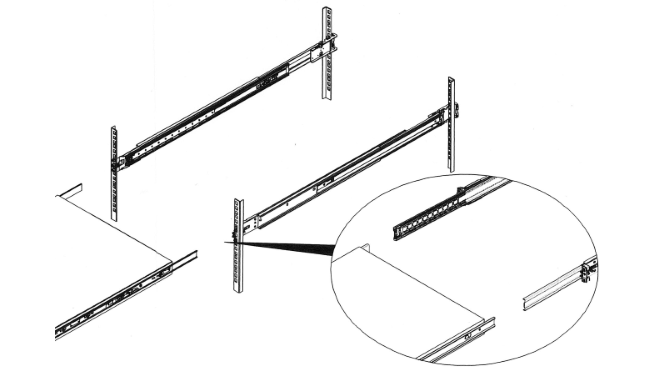
The steps for mounting a slide-rail on the side of the W50 and in the rack are as follows:
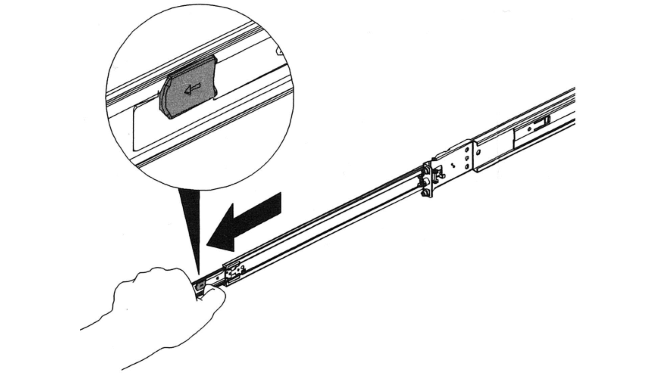
Now repeat the above steps to install the rail for the other side of the W50 unit.
B. Mounting the W50 in the Rack
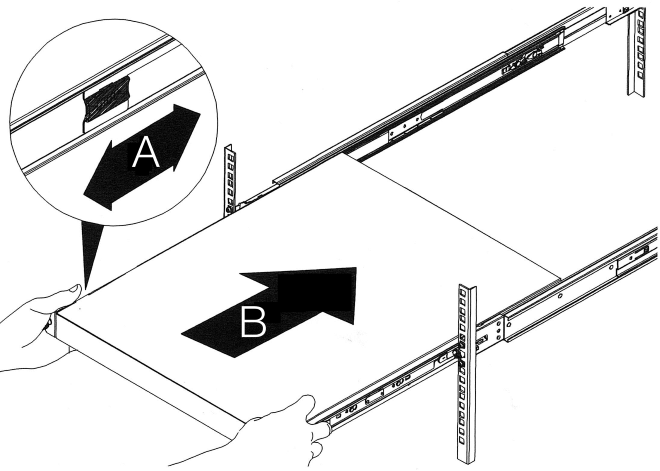
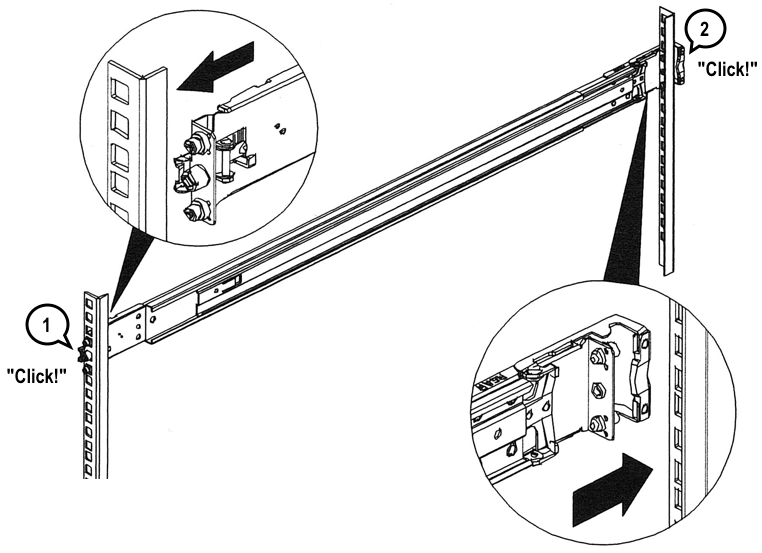
Now that the rails are installed on either side of the W50 and in the rack, the following steps describe mounting the W50 unit in the rack:Slide the ball-bearing retainer on either side out so that they are locked in their most forward position.
With both ball-bearing retainers extended forward, line up the inner and outer rails and slide the W50 unit half way into position.
Slide the release tab (A) and push the W50 fully into the rack (B).