| Home Prev | Next |
Before applying power to the NetWall 6000 Series and starting cOS Core, it is important to understand the customer and product registration procedures. There are two types of registration:
Registering as a Clavister Customer
This involves registering basic contact and company information on the Clavister website and establishing login credentials. Later, these credentials can also be used by cOS Core for automatically registering the 6000 Series hardware unit and automatically downloading the correct license.
This is a mandatory requirement for all new customers and needs to be done only once. A description of doing this can be found below. Even if registration is not done before starting the cOS Core wizard, the wizard will provide a link to the registration page so it can be done while the wizard is running.
Registration of a NetWall 6000 Series Hardware Unit
This is mandatory for every hardware unit before a license can be downloaded. It can be done in the following ways:
Automatic registration after cOS Core starts - This can done by the Setup Wizard which starts automatically in the Web Interface when cOS Core is started for the first time. The wizard is described in Section 4.1, Web Interface and Wizard Setup.
Manual registration of the NetWall 6000 Series on the Clavister website - This is described in the last half of this chapter. Manual registration may be necessary if the appliance does not have Internet access.
A. Registering as a Clavister Customer
The NetWall 6000 Series registration steps for a first time user of Clavister hardware are as follows:Go to the URL https://my.clavister.com in a web browser.
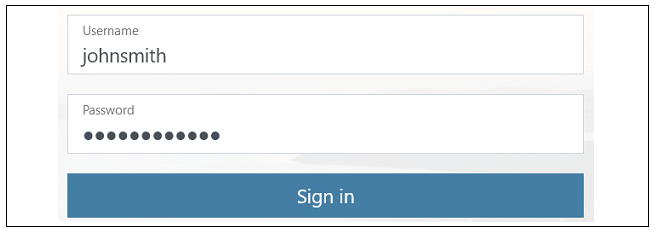
The MyClavister login page is presented. If you are already registered, log in and skip to part B below. If you are a new customer accessing MyClavister for the first time, click the Create Account link.
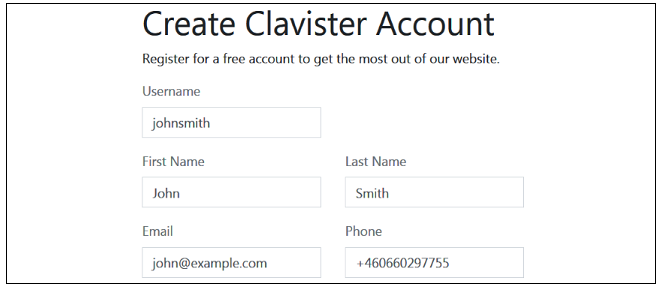
The registration page is now presented. The required information should be filled in. In the example below, a user called John Smith is registering.
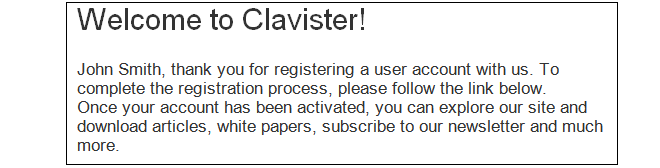
When the registration details are accepted, an email is sent to the email address given so that the registration can be confirmed.

Below is an example of the heading in the email that would be received.
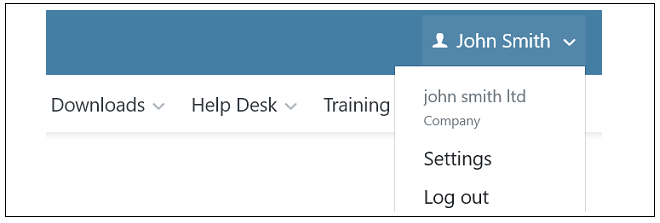
The confirmation link in the email leads back to the Clavister website to show that confirmation has been successful and logging in is now possible.

After logging in, the customer name is displayed with menu options for changing settings and logging out. Note also that multi-factor authentication can be enabled for increased security in Settings.
B. Registration of the NetWall 6000 Series
This section can be skipped if the NetWall 6000 Series unit has access to the Internet. With Internet access available, registration can be performed automatically by the cOS Core Setup Wizard which will appear as a browser popup window in the Web Interface when cOS Core starts for the first time. The wizard is described in Section 4.1, Web Interface and Wizard Setup.If the unit does not have Internet access then manual registration is required and this is done using the following steps:
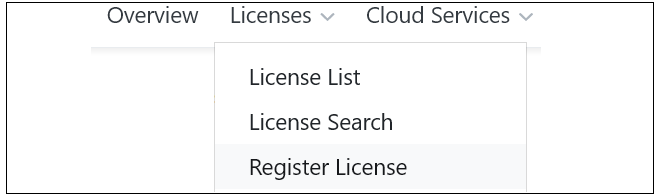
Now, log into the MyClavister website and select the Register License menu option.
Select the NetWall option.

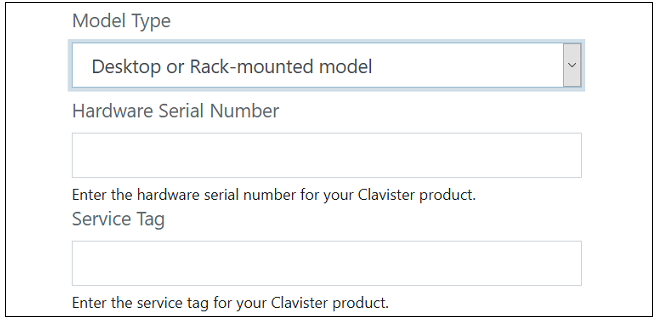
The registration fields will be displayed. After selecting the product type, enter the Hardware Serial Number and Service Tag. These two codes are found on a label which should be attached to the NetWall 6000 Series hardware itself. The label is usually found on the hardware unit's underside but may be found in another position.
The image below shows an example identification label which illustrates the typical layout of labels found on Clavister hardware products.
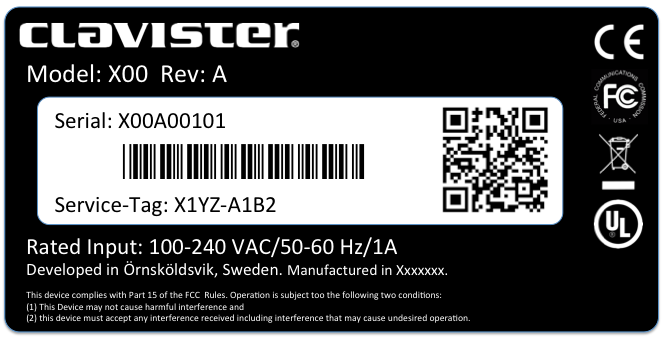
Note: The above image is an illustrative example, for exact power rated input please see Appendix A, NetWall 6000 Series Specifications.
After Successful Hardware Registration
Once the NetWall 6000 Series unit is registered, a cOS Core license for the unit becomes available for download and installation from Clavister servers. This installation can be done automatically through the cOS Core Setup Wizard which is described in Section 4.1, Web Interface and Wizard Setup.If the NetWall 6000 Series is not connected to the Internet, the license must be manually downloaded from the cOS Core website and then manually uploaded.
All license installation options are listed and discussed in Section 4.4, License Installation.