| Home Prev | Next |
The NetWall 500 Series can be mounted on any appropriate stable, flat, level surface that can safely support the weight of the appliance and its attached cables.
![[Important]](images/important.png) |
Important: Always leave space around the appliance |
|---|---|
|
Always ensure there is adequate space around the appliance for ventilation and for easy access to switches and cable connectors. No objects should be placed on top of the casing. |
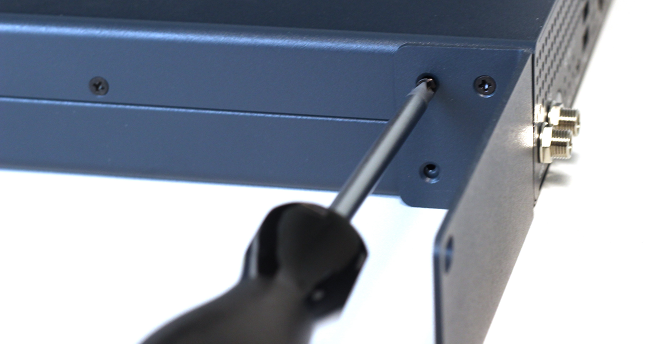
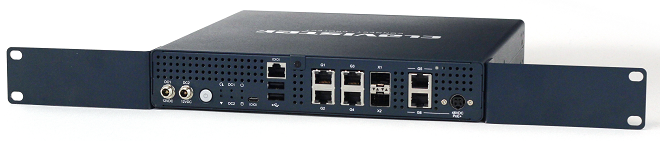
The NetWall 500 Series can also be rack mounted in a standard 19-inch rack using the kit that is included with the appliance. The kit is installed by attaching the two side-brackets, as shown below.
Once the brackets are firmly attached on either side, the unit can be mounted in a rack. Rear support is not required.
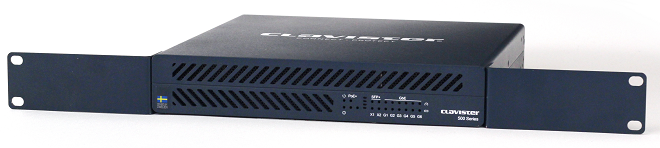
Note that the brackets could, instead, be attached to the other side of the unit, as shown below.
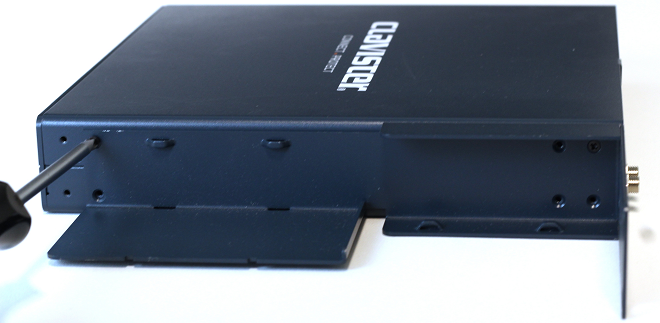
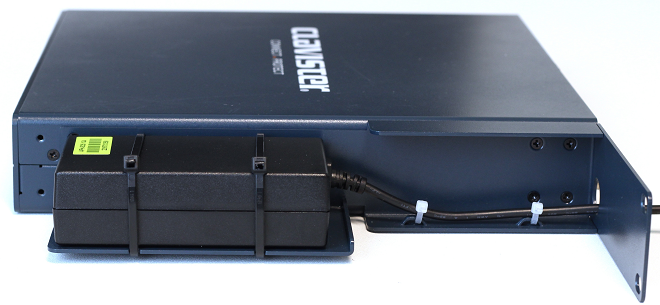
A different, optional kit is available from Clavister with shelf support for a single or a pair of PSUs. The image below shows how this kit is attached on each side.
Once the kit has been attached, PSUs can be placed on the shelf on either side of the unit with nylon ties securing them in place, as shown below.