| Home Prev | Next |
The Reporting section of the InCenter system allows dashboards to be turned into PDF reports that can be automatically sent to a list of email recipients. The creation of reports can be done at a chosen point in time, either at the beginning of the day, week or month.
To create a new report, select the Configure option from the Reporting menu in the navigation pane. (The Preview option duplicates the information from the dashboard displays.)
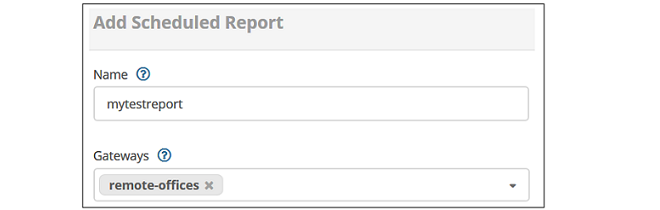
Next, press the Add button to define a new report.
The new report dialog will be displayed. The first information to enter is a name for the report along with selecting the firewalls which will contribute the data for the report. The firewalls must have been previously added to InCenter for them to appear in the drop down list. The list also includes any groups that have been previously defined.
In the next part of the dialog, select the dashboards that will be included in this report.
Define the frequency that the report will be generated. This can be either at the beginning of each day or each week or each month.
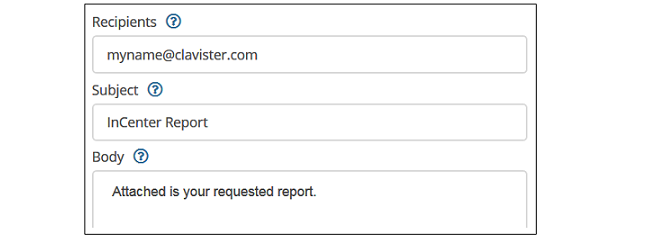
Next, the recipient(s) of the report can be entered as a comma separated list of email addresses along with text for the subject line and text for the email body (the report PDF will be an attachment to emails).
Note that SMTP server setup will be required in order for InCenter to send emails. Doing this is described in Section 6.9, SMTP Server Setup.
After clicking the Save button at the bottom of the dialog, this report will now appear as one line in the report list and can be edited or deleted at any time.