| Home Prev | Next |
This section describes the EasyAccess configuration manager interface
Once the EasyAccess server is running, the administrator can connect to its configuration manager web interface (WebUI) using a standard web browser. The IP address of the server along with the port number specified during installation should be entered into the browser's address field using the following format:
https://<IP-address>:8443If the browser is running on the same computer as the server then the localhost address can be used, as shown below.
The browser will then require that a security exception is granted by the administrator before continuing. This is because the EasyAccess server uses a self-signed certificate for HTTPS. Select the Advanced option in the browser and confirm the exception.
If connection to the server fails then check the following:
The EasyAccess server is running.
The correct port number is being used for connection.
The license is still valid. An invalid license will be indicated by a log message in the server.log file which can be found in the EasyAccess/Server/Logs folder of the installation.
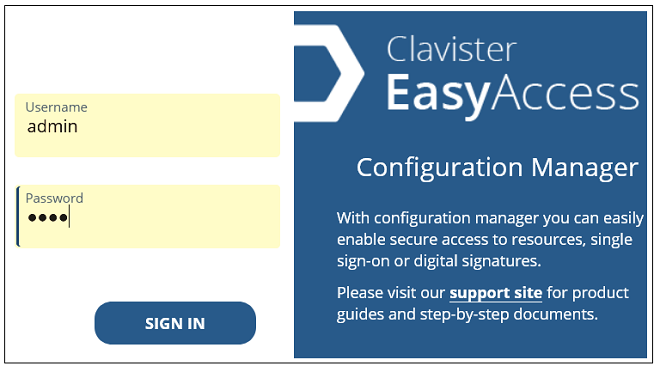
After successful connection to the server, the administrator login screen will appear. The credentials entered must match the credentials that were specified during the installation process.
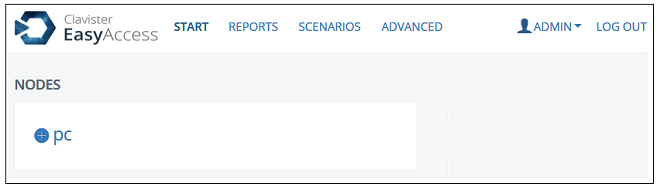
After successful login, the Start page of the EasyAccess interface will appear.
The initial Start page of the interface contains the following elements:
The Connection Overview
This displays a summary of the current EasyAccess connections, both incoming and outgoing. After initial installation this will be empty except for the default management HTTP connection. This display will change as new connections are added.
Latest Events
This is a list of the latest server events.
The sections that follow will explain how to use this interface to set up some basic EasyAccess features.