| Home Prev | Next |
This section describes the creation of a virtual machine in the KVM environment after downloading the required files. File downloading is described in Chapter 2, Installation.
It is assumed that the Virtual Machine Manager software (version 0.9.1 or later) is installed on the local management workstation. The following components are required on the server:
QEMU/KVM version 1.0.0 or later.
libvirt version 0.9.8 or later.
The steps for virtual machine creation are as follows:
Download the distribution for KVM after logging in as a user at the Clavister website.
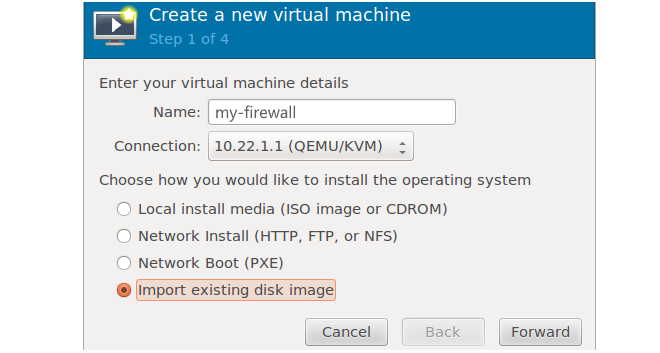
The KVM distribution is distributed as a .qcow2 file which is a disk image of the virtual machine. The filename will have the following form:
clavister-cos-stream-<version>-virtual-x64-generic.qcow2
Where <version> is the version number of the release.
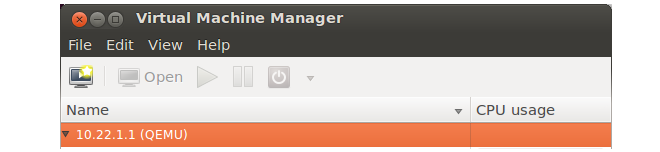
Start the Virtual Machine Manager (virt-manager) software and connect to KVM.


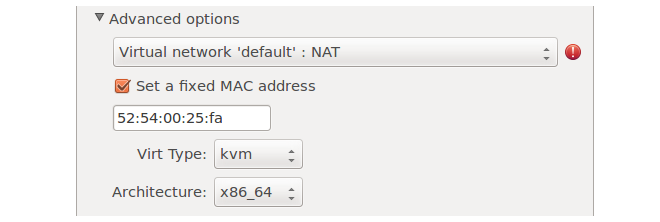
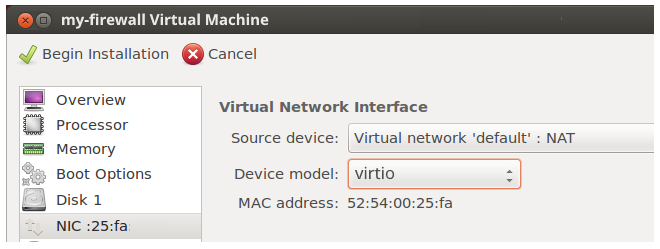
The virtual machine created can now be edited to meet specific requirements. The virtual machine will have no Ethernet interfaces and these should be added using the virtual machine manager.
Selecting the Interface Driver Type
If only a single virtual CPU core is available to the virtual machine then the interface NIC type should be set as E1000 because interrupt mode will be used by cOS Stream. Selecting E1000 on all NICs will minimize data plane usage and make it possible to share a single CPU core with other tasks.When running with multiple CPU cores, poll mode will be used instead by cOS Stream. This will provide higher performance and any supported interface type can be used.
Specific Resource Allocation for KVM
The general guidelines for resource allocation are detailed in Chapter 5, Resource Allocation Guidelines. The following should be specifically noted about correctly allocating resources with KVM:Only a single socket is supported so the number of sockets should always be set to one.
The number of cores can be set to the maximum number available.
The number of threads should be set to a value of 2.
Each core should be pinned to a hyperthread sibling in a one-to-one relationship.
An example extract from a KVM configuration is found below which uses the guidelines given in the list above.
<vcpu placement='static' cpuset='1-4,17-20'>28</vcpu>
<cputune>
  <vcpupin vcpu='0' cpuset='1'/>
  <vcpupin vcpu='1' cpuset='17'/>
  <vcpupin vcpu='2' cpuset='2'/>
  <vcpupin vcpu='3' cpuset='18'/>
  <vcpupin vcpu='4' cpuset='3'/>
  <vcpupin vcpu='5' cpuset='19'/>
  <vcpupin vcpu='6' cpuset='4'/>
  <vcpupin vcpu='7' cpuset='20'/>
</cputune>
<os>
  <type arch='x86_64' machine='pc-i440fx-xenial'>hvm</type>
  <boot dev='hd'/>
</os>
<features>
  <acpi/>
  <apic/>
</features>
<cpu mode='host-passthrough'>
  <topology sockets='1' cores='4' threads='2'/>
</cpu>